Difference between revisions of "MCLA Company Portal For Macs"
| Line 21: | Line 21: | ||
*9. When setup is complete, select '''Done'''. | *9. When setup is complete, select '''Done'''. | ||
| − | [[File:MacIntune12.png| | + | [[File:MacIntune12.png|left]] |
Latest revision as of 22:34, 17 November 2021
These instructions will guide you through how to install and use the MCLA Company Portal app for macOS. After your MCLA Mac OS laptop or desktop is enrolled through the MCLA Company Portal app, it will become managed where applications and security updates can be automatically deployed from MCLA.
Install MCLA Company Portal app
- 1. Click this link to download the installer.
- 2. The Company Portal installer .pkg file will download. Open the installer and continue through the steps.
- 3. Agree to the software license agreement.
- 4. Enter your device password to install the software.
- 5. Open Company Portal.
Enroll your Mac by signing into the MCLA Company Portal App
- 1. Sign in to Company Portal with your A number plus @mcla.edu and your MCLA account password.
- 2. When the app opens, select Begin.
- 3. Review what MCLA can and can't see on your enrolled device. Then select Continue.
- 4. On the Install management profile screen, select Download profile.
- 5. Your device's system preferences will open.
- a. Select Install and then select Install again.
- b. If you’re prompted to, enter your device password.
- 6. Once the profile is installed, it will appear in the profiles list under Management Profile.
- 7. Return to Company Portal.
- 8. Update your device settings. When you're done updating settings, select Retry.
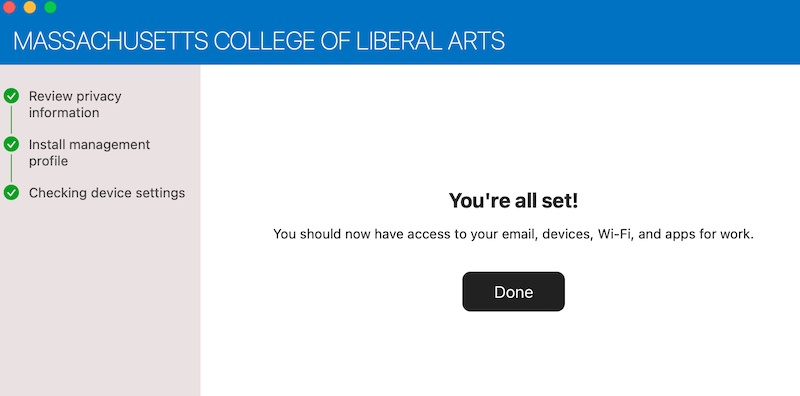
- 9. When setup is complete, select Done.
