Connecting your personally owned device to BlazerPrint (Students)
The following instructions will walk you through the process of setting up the 'BlazerPrint' virtual printer queue on your personally-owned laptop. Once set up, you can send print jobs to the queue and release them from any BlazerPrint copier on campus.
NOTE: These instructions are designed for personally owned devices. MCLA Faculty/Staff who are using MCLA-owned devices should review these instructions instead.
For Windows Users:
- 1. Ensure your laptop is connected to the oncampus MCLA network, preferably Eduroam.
- 2. Download the Mobility Print Installer located here.
- 3. Run the installer once fully downloaded.
- 4. Windows prompt will ask you for permission to make changes to your computer; Click “Yes”
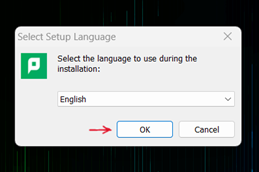
- 5. Select a language, then click “Ok”
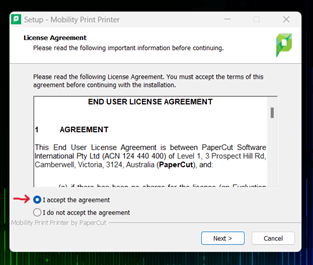
- 6. Click “I accept the agreement” then click “Next”
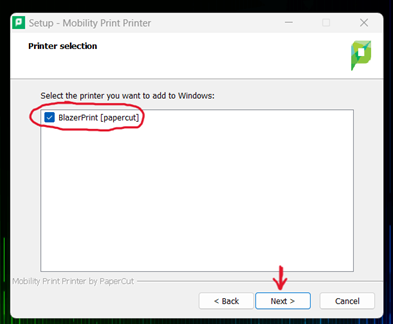
- 7. “BlazerPrint” should appear in the list of printers. Select “BlazerPrint”, then click “Next”
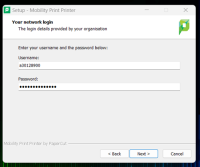
- 8. Sign in using your A number and password, then click “Next”
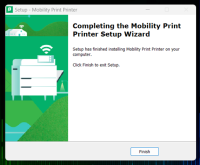
- 9. If done successfully, a page will appear saying that the Mobility Print Setup has been installed. Click “Finish”
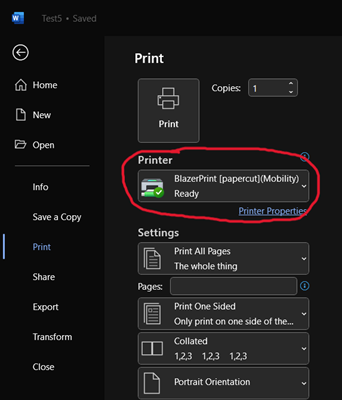
- 10. BlazerPrint should now appear in the list of printers when attempting to print
