Difference between revisions of "Install OneDrive Sync Client (Windows)"
| Line 16: | Line 16: | ||
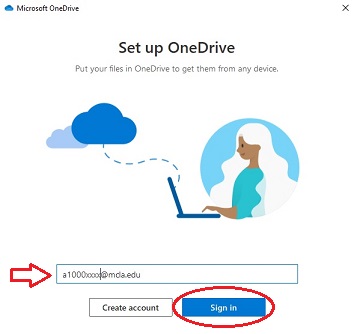
*When asked to login type in your A number with @mcla.edu at the end, then click 'Sign In' | *When asked to login type in your A number with @mcla.edu at the end, then click 'Sign In' | ||
| − | [[File:OneDriveSignOn2.jpg | + | [[File:OneDriveSignOn2.jpg]] |
*Login with your MCLA account | *Login with your MCLA account | ||
Revision as of 17:08, 12 April 2021
The following instructions will walk through the process of setting up the OneDrive sync client in Windows
Step 1: Check to see if the OneDrive client is already installed.
- On the left end of the taskbar, select the start
 icon.
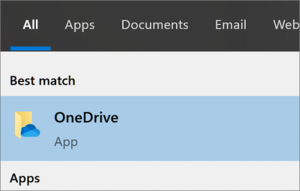
icon. - Type in “OneDrive”. If you see the following application, you have it installed (move on to Step 2)
- If don’t see the OneDrive application or just OneDrive for Business, please proceed with downloading and installing the OneDrive client using this link: OneDrive Download
Step 2. Open the OneDrive client and configure it.
- When asked to login type in your A number with @mcla.edu at the end, then click 'Sign In'
- Login with your MCLA account
- Confirm the directories that you’d like to sync and click next

