Install OneDrive Sync Client (Windows)
The following instructions will walk through the process of setting up the OneDrive sync client in Windows
Step 1: Check to see if the OneDrive client is already installed.
- On the left end of the taskbar, select the start
 icon.
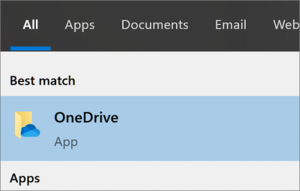
icon. - Type in “OneDrive”. If you see the following application, you have it installed (move on to Step 2)
- If don’t see the OneDrive application or just OneDrive for Business, please proceed with downloading and installing the OneDrive client using this link: OneDrive Download
Step 2. Open the OneDrive client and configure it.
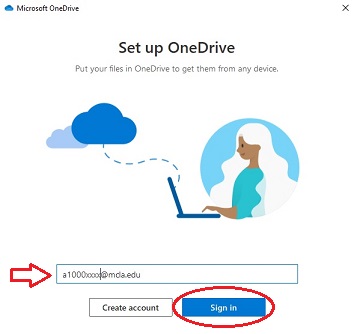
- When asked to login type in your A number with @mcla.edu at the end, then click 'Sign In'
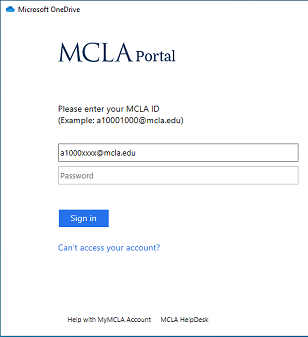
- You will be redirected to the MCLA Portal SSO page. Proceed by logging in with your MCLA account.
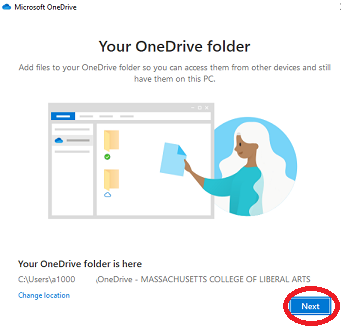
- Confirm the folder location you'd like OneDrive to be located in.
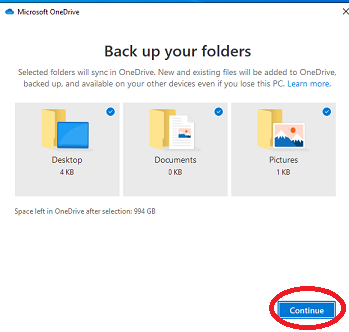
- Confirm the directories that you’d like to sync. The most common directories will already be selected for you. Click 'Next' to proceed.
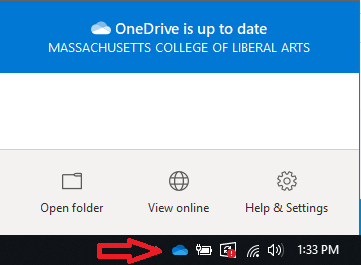
- This installation setup will complete. To confirm that files are syncing, open the OneDrive client from the system tray (lower right corner). This will provide you the status of what files are being synced and when its fully updated.
Step 3. Learn about additional features
Now that your OneDrive client is installed and setup to backup your files. You will want to explore OneDrive further and learn about some additional options that you may want to turn on. Here is a list of helpful documentation that you should review so that you can utilize OneDrive to its full potential!
