O365 - Microsoft Bookings
Contents
Description
Microsoft Bookings is an online scheduling service that provides MCLA Offices a way to easily allow community members to make appointments for services. Microsoft Bookings provides a webpage integrated with department and office calendars in order to display available times during which you can set up meetings.
Information and Guides about Bookings
How to setup a Microsoft Bookings page
Office Hours with Microsoft Bookings
Schedule a Meeting
To schedule a meeting in Microsoft Bookings, a department or an office will have to share share a service link with you. The link can be emailed to you or you can find it posted on another online resource or website. Click the link and you will be brought to the Booking page.
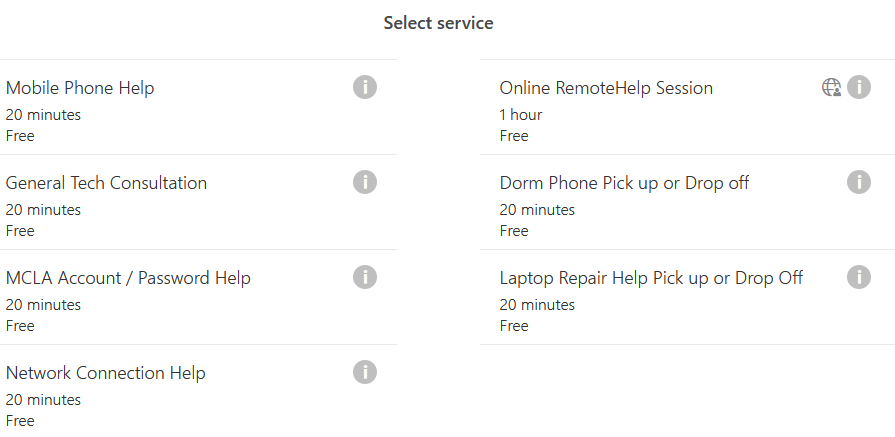
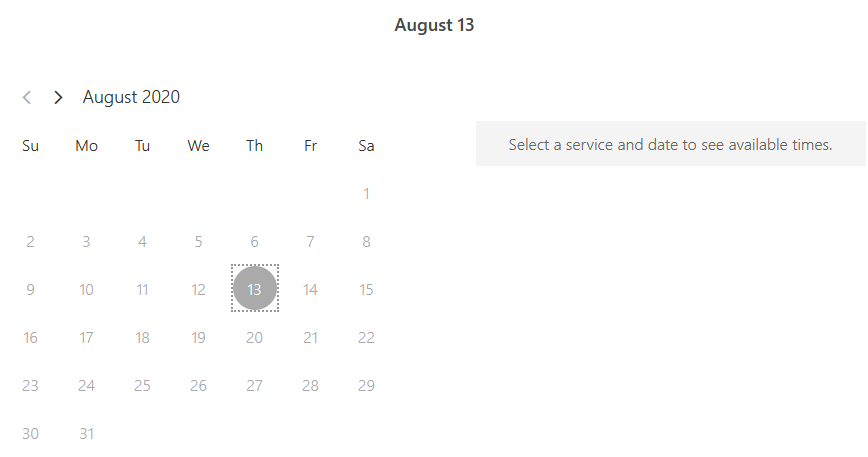
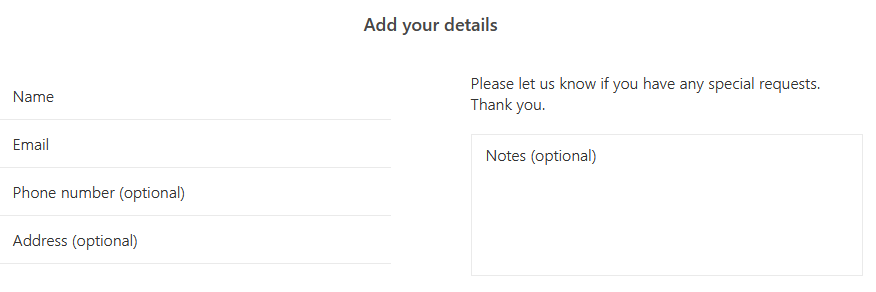
Here, you will have to fill out or select information regarding your appointment, such as the reason for the appointment, the date and time, and your name, phone number, email address, and any other relevant information.
Click the "Book" button at the bottom of the page to schedule the meeting. The department or office will be notified.
Add Business Information
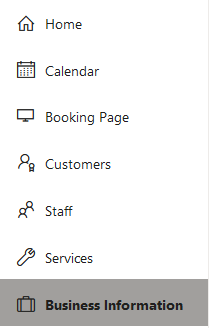
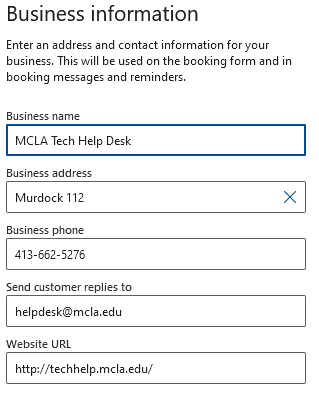
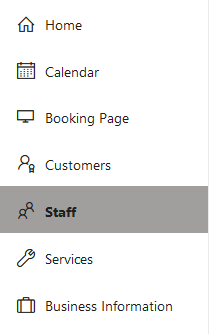
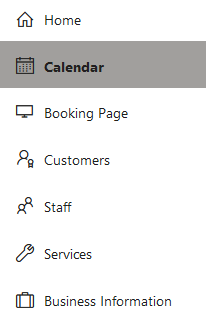
On the left side of the Bookings page, click the "Business Information" tab to add, edit, or delete information about your business/organization.
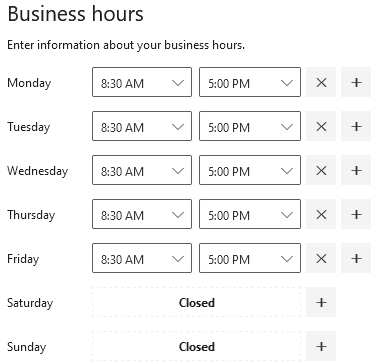
You can change the hours during which you provide different services, your business description, your business logo, and other information.
Click "Save" at the top of the page to save your changes.
Add Staff Members
On the left side of the Bookings page, click the "Staff" tab.
On the top of the Manage Staff page, click the "Add Staff" button.
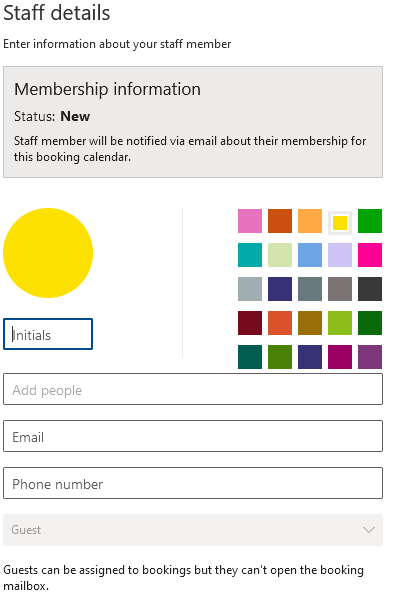
Enter the staff member's name, email address, and phone number. If the person's name appears in the suggestions, click it to automatically fill the Name and Email fields. Set their role as Viewer, Guest, or Administrator.
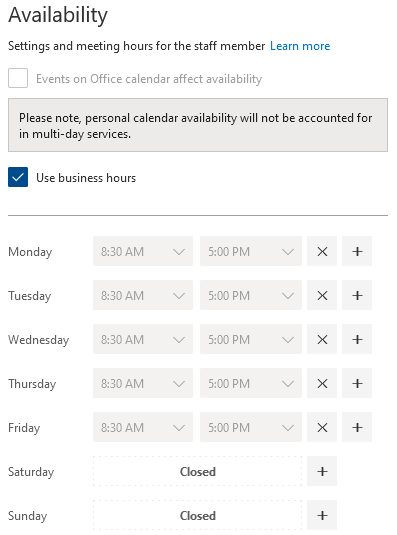
Next, set the staff member's availability or work schedule.
You can also decide to notify them when an appointment is booked or changed during their scheduled hours.
Click the "Save" button to add the new staff member.
Add Services
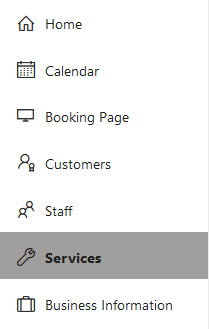
On the left side of the Bookings page, click the "Services" Tab.
At the top of the next page, click "Add a Service".
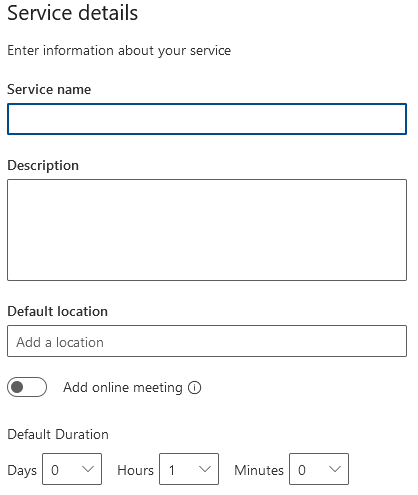
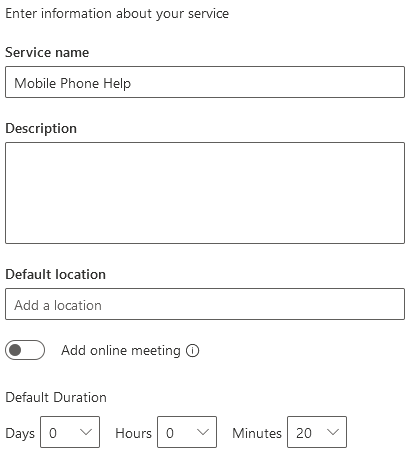
Enter the information about the service you want to offer. This includes the service name, description, duration, reminders, maximum attendees, and the hours during which the service is offered.
If needed, you can assign certain staff members to this service. When you are finished entering the information, click "Save" to add the new service to your Bookings page.
Sharing a Service Link
On the left side of the Bookings page, click the "Services" Tab.
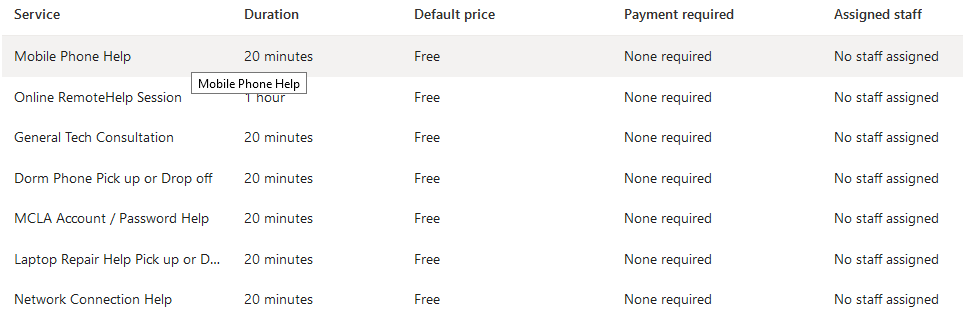
In the list, click on the service you want to share.
In the next window, you can edit the service information if it is needed. You can edit the service name, description, location, duration, reminders, etc.
You can also assign a certain staff member to this service.
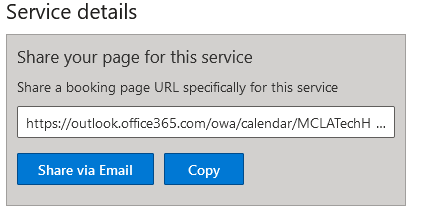
At the top of the service details window, you can choose to share the service link via email or copy the link.
If you choose email, an outlook window will open, in which you can specify the recipient and send the service link to their email address. If you choose to copy the link, the link can be posted on a website, sent via a message, or posted on other online platforms.
Viewing the Calendar
On the left side of the Bookings page, click the "Calendar" tab.
The calendar can be used to view all scheduled bookings for your business. You can also use the calendar to schedule time off for certain staff members. Similar to the Outlook Calendar, you can view by day, week, work week, and month. Clicking on a calendar item will display it's information which you can edit. If needed, you can also print out your Bookings calendar.
FAQ about Bookings
Mobile App Download

